How to Create a New Moneyscope Account
An account is required to use Moneyscope’s features and start managing your finances. Each new account comes with a 30-day free trial to explore all the app’s functionalities. Follow the steps below based on your preferred platform and registration method.
To continue using the Moneyscope after the trial ends, you will need to subscribe. For more information, read the How to Subscribe.
Open Moneyscope
- iOS: Download the Moneyscope app from the App Store. Once installed, open the app.
- Android: Download the Moneyscope app from the Google Play Store. Launch the app after installation.
- Web: Visit app.moneyscope.ai in your browser and click on Sign Up.
Create your Moneyscope Account on iOS and Android apps
Create your Moneyscope Account using your Email

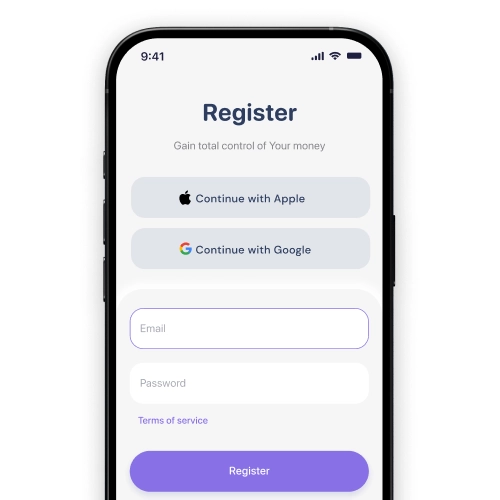
- Enter your email address on the registration screen and click Register.
- Check your inbox for a verification email from Moneyscope.
- Copy the verification code from the email.
- Return to the app enter the code in the verification field, and click Verify.
After verifying your email, your Moneyscope account will be successfully created.
Troubleshooting Tips:
- If you don’t see the email, check your spam or junk folder.
- Tap Resend Code if the email does not arrive within a few minutes.
Create your Moneyscope Account using your Google Account
.webp)
- Tap Continue with Google on the registration screen.
- Select the Google account you want to use (or log in if prompted).
- Grant the necessary permissions for Moneyscope to access your account.
- Once authenticated, you will be redirected back to the app, and your account will be created instantly.
Create your Moneyscope Account using your Apple Account

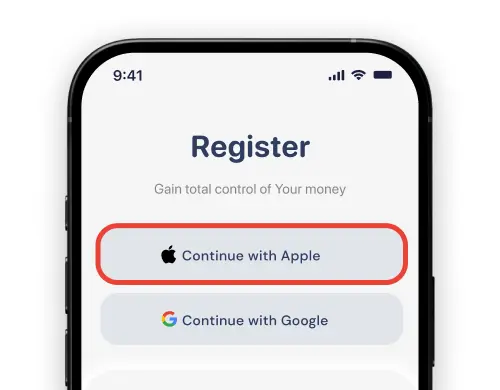
- Tap Sign Up with Apple ID on the registration screen.
- Log in with your Apple ID credentials (or authenticate using Face ID/Touch ID if prompted).
- Choose whether to share or hide your email address with Moneyscope.
- Grant the necessary permissions for Moneyscope to access your account.
- Once authenticated, you will be redirected back to the app, and your account will be created instantly.
What Happens Next?
After verifying your email, your Moneyscope account will be successfully created. You can now log in and start exploring the app’s features to manage your finances. Don’t forget, you have a 30-day free trial to try all features.
For more information:
- How to Log In and Log Out
- How to Reset Your Password
- Understanding Security Features
If you encounter any issues during setup, contact our support team for assistance.

